This article explains how to manage files of BikiBikiBob using a web browser UI.
Features of BikiBikiBob Manager
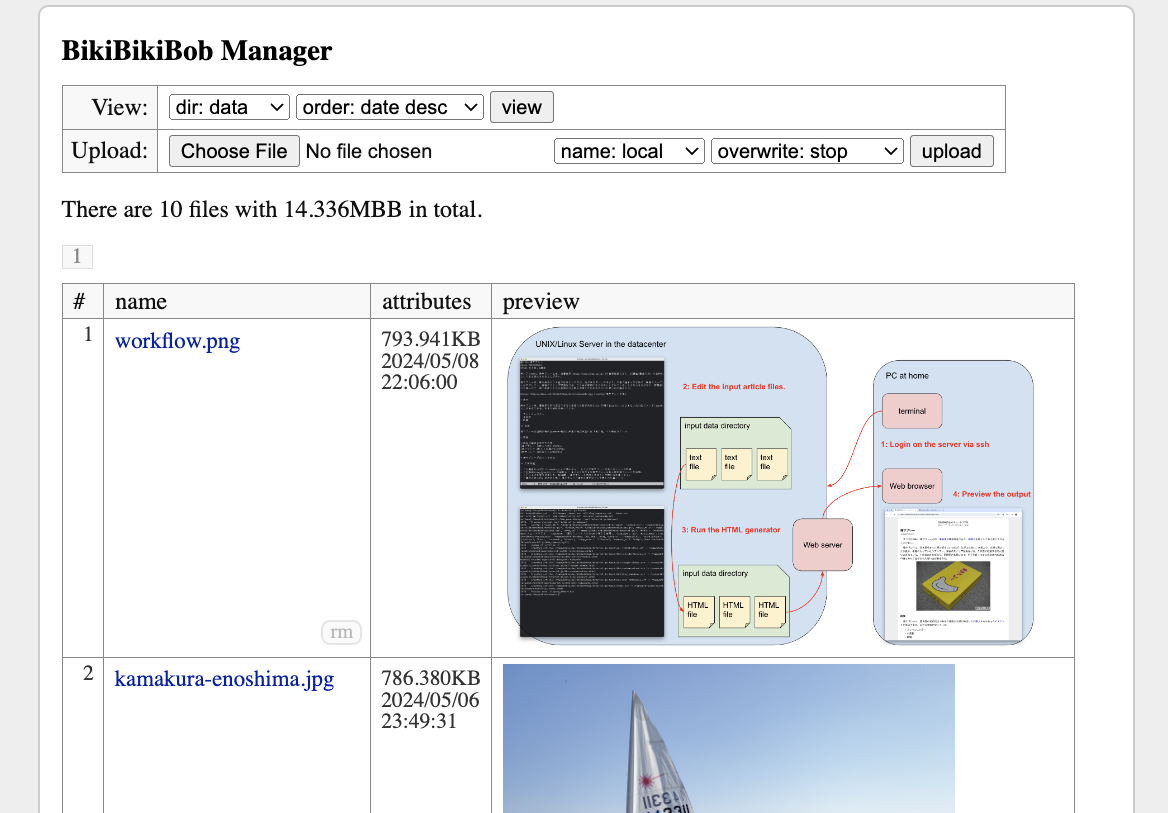
While the management tasks of websites using BikiBikiBob are expected to be performed on a server logged in via SSH, you can set up the system to carry out those tasks on a web browser. Specifically, the following tasks can be done via a browser:
- Uploading data such as images and videos to the server.
- Creating and modifying article files on the server.
- Running the HTML generator to update the website simultaneously when modifying article files.
Setup
To enable file management via the web, you need to install a CGI script for file management. Copy "bbb_manage.cgi" from the downloaded repository to a directory where CGI scripts can be executed.
Edit the installed "bbb_manage.cgi" and specify the list of directories where the files to manage are located.
DATA_DIRS = [
  ("input", "/home/mikio/myblog/input", "", "/home/mikio/myblog/input/bbb.conf"),
  ("data", "/home/mikio/myblog/data", "/bikibikibob/myblog/data", ""),
]
Each line specifies the following content. Create the directories to be managed in advance and set permissions so that the CGI script's execution user can read and write.
- Label: An arbitrary string for identification in the UI.
- The local path of the directory to be managed.
- If the directory is to be published by the web server, its URL. It can be an absolute URL or a path from the document root. Use an empty string if the directory is not to be published.
- The path of the configuration file read by bbb_generate.py when editing article files. Leave it empty if not needed.
Typically, specify the directory of article files and the directory of data such as images and videos. Since article files are not distributed on the web, the third parameter is an empty string. bbb_generate.py is executed in order to reflect changes made to article files on the site. Thus, specify the path of the configuration file in the fourth parameter. On the other hand, since images, etc., are distributed by the web server, write their URL in the third parameter. This URL is used by the preview feature of the management UI. Since images are not targeted by the HTML generator, the fourth parameter is an empty string.
It is recommended to place the image files embedded in the articles in a sibling directory (e.g. myblog/data) of the directory where the articles are located (e.g. myblog/input). This simplifies management tasks such as backups. It is best to create a symbolic link from the web server's public directory to the data directory.
$ ln -s /home/mikio/myblog/data /home/mikio/public/bikibikibob/myblog/data
You can also manage multiple sites with a single management CGI script. You can add targets indefinitely by registering the directories to be managed as shown below, You can also use it as a simple uploader unrelated to web site operation.
DATA_DIRS = [
  ("myblog-input", "/home/mikio/myblog/input", "", "/home/mikio/myblog/input/bbb.conf"),
  ("myblog-data", "/home/mikio/myblog/data", "/bikibikibob/myblog/data", ""),
  ("mywiki-input", "/home/mikio/mywiki/input", "", "/home/mikio/myblog/input/bbb.conf"),
  ("mywiki-data", "/home/mikio/mywiki/data", "/bikibikibob/mywiki/data", ""),
  ("private", "/home/mikio/private", "", ""),
]
It is extremely dangerous if the management CGI script is executed by a third party; it means the site is hijacked. Therefore, always set up some authentication method to ensure that only administrators can access it. Basic authentication, Digest authentication, or PKI certificate authentication provided by the web server can be used.
Usage
First, access the installed "bbb_manage.cgi" from a browser. Pass the authentication mechanism and confirm that the "BikiBikiBob Manager" screen is displayed.
To upload files such as images or videos embedded in articles to the web server, usually data is transmitted via SSH or SFTP, but it can also be done via a web browser. Select the "data" directory with the View control and display it, then specify and upload files with the Upload control. Selecting "name:assign" allows you to assign any file name.
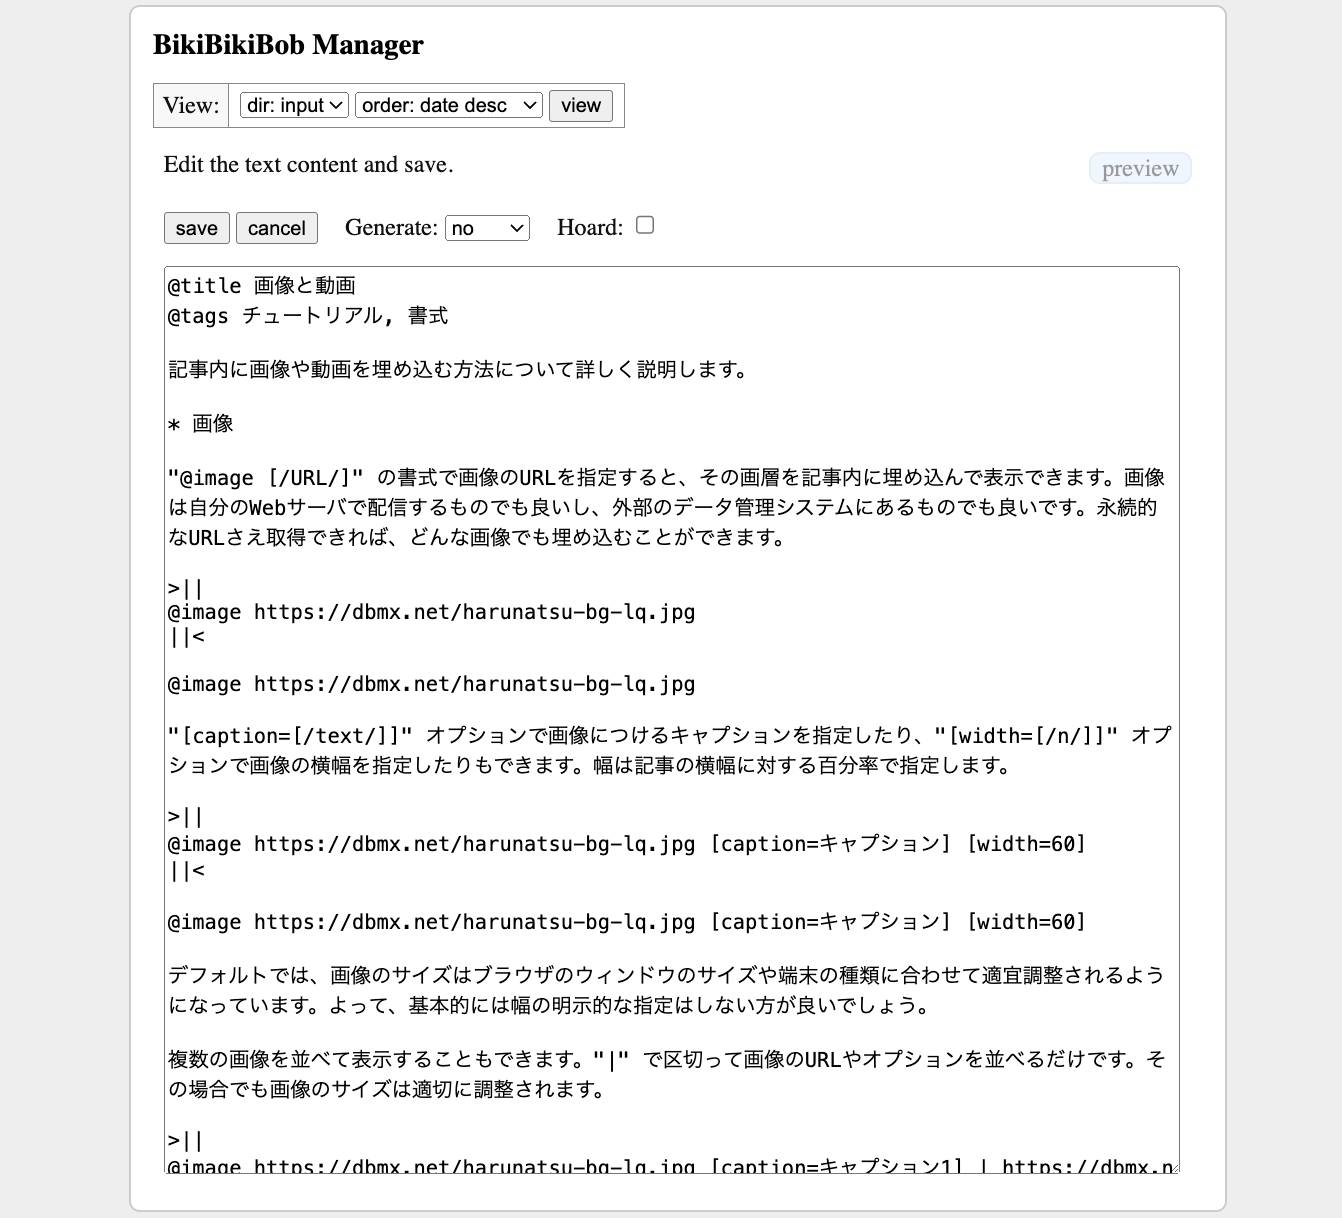
To update an article, select the "input" directory with the View control and display it, then press the "ed" button for the target article. To create a new article, select "empty file" in the naming field and create it.
In the article editing screen, write the article based on Article Formatting. You can also specify the URL of the images or videos uploaded in advance and embed them in the article.
When saving an article, if you set Generate to "single," only that file is specified to the HTML generator, which updates the HTML file only for the article. If you set Generate to "full," the HTML generator is executed for all article files, updating the whole website.
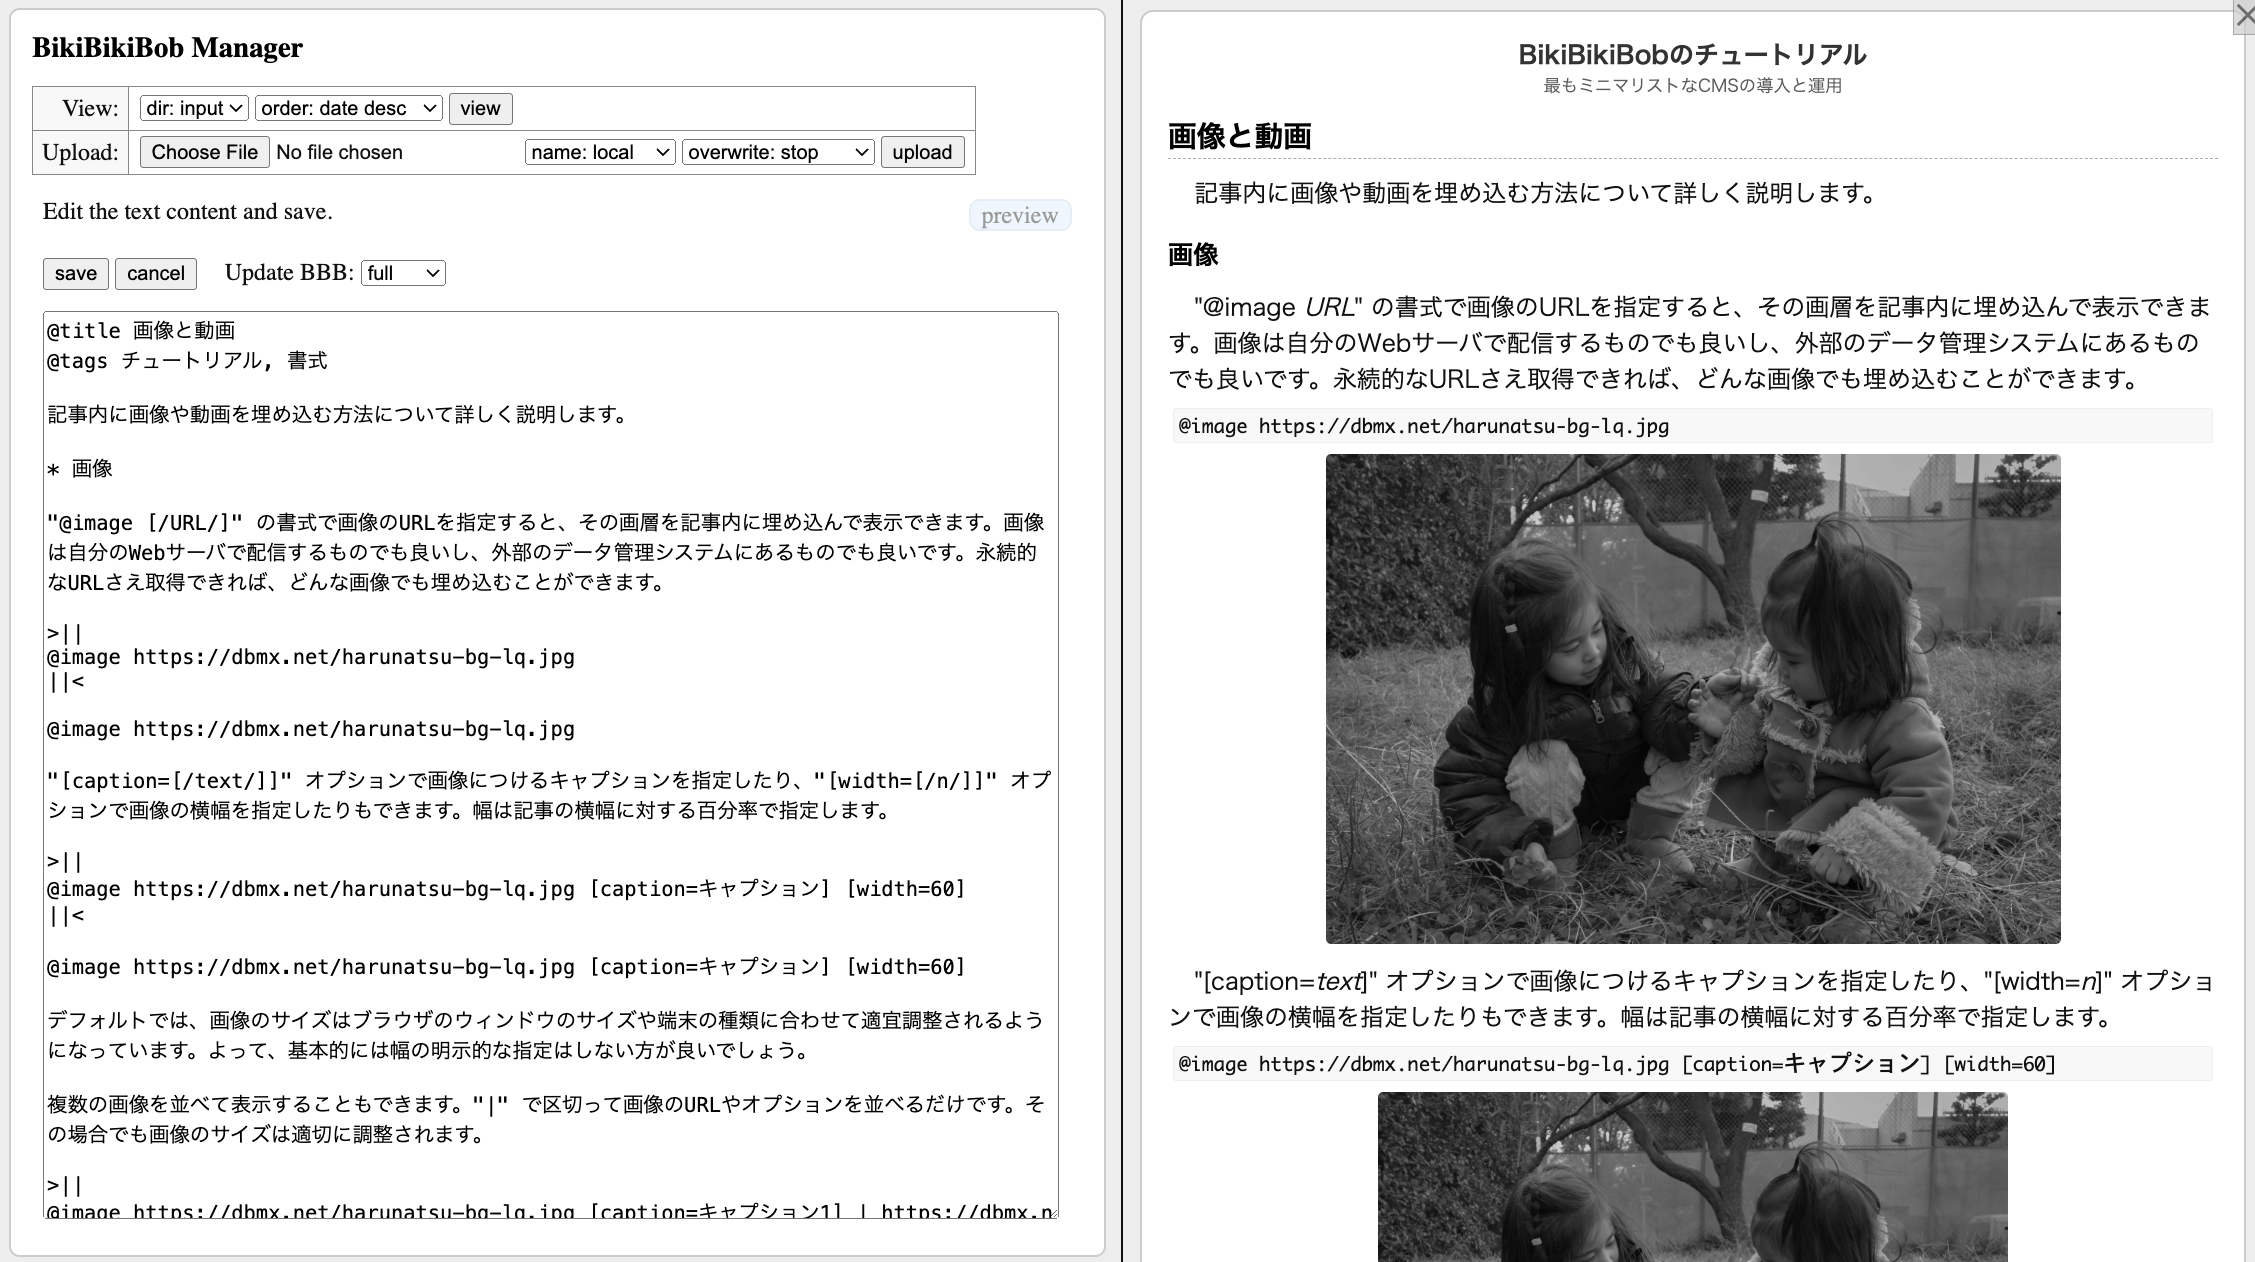
By pressing the "preview" button on the editing screen, the screen is split into two, with the editing page on the left and the preview page on the right. When you set Generate to "single" or "full" and "save" on the editing page, the preview page on the right is automatically refreshed. This method is convenient for iteration of editings while confirming the preview.
With these steps, basic website management should be possible via the browser. It is recommended to perform significant updates or edits by logging into the server via SSH and use the web UI for minor adjustments. In my case, I primarily write articles by logging in via SSH and using Emacs. For images or videos embedded in articles, I write placeholders like "@image (bicycles)" or "@video (waterfall)", complete the main text, and save it. Then, I upload the images and videos via the web, and use the web UI editing feature to copy-paste the image and video URLs into the placeholders to complete the article. For minor corrections noticed after publication, I sometimes use the web UI from my smartphone.
Detailed Features
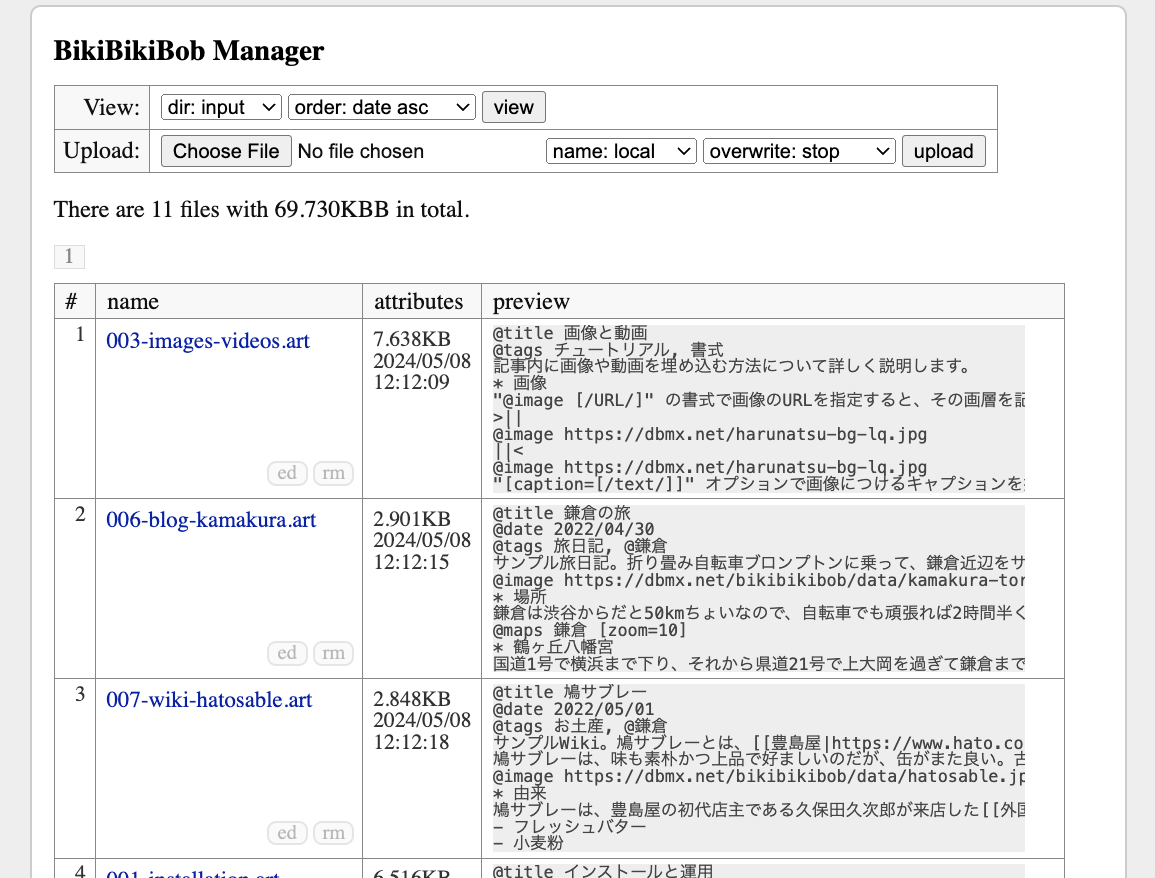
In the operation panel at the top of the screen, the View row specifies which directory to operate. The items starting with "dir:" display the labels written in the settings. The items starting with "order:" specify the order in which the files in the directory are displayed. By default, the most recently updated files are shown at the top. After changing these items, press the "view" button to reflect the changes in the display. Note that changing the directory has no effect until the "view" button is pressed.
The Upload row is used when creating new files. Pressing the "Choose file" item opens a dialog to specify a local file, whereby you select the file you want to upload. The item starting with "name:" specifies how the file name is assigned on the server. "name:local" uses the local file name. "name:date" uses the current time as the file name. "name:assign" allows you to assign any file name. "empty file" ignores file specification and creates an empty file. In this case, you can assign any file name, just like "name:assign". When creating a new article, specify "empty file" and create a file with a name ending in ".art". The item starting with "overwrite:" specifies the behavior when a file with the same name exists. "overwrite:stop" gives up without updating the old file. "overwrite:rename" avoids overwriting by adding a suffix like "_2". "overwrite:force" overwrites the old file with the new file's content.
Clicking on the individual file names in the list displays the file contents. For directories with external URLs specified in the settings, the data is displayed using the external URL. For directories without external URLs, "bbb_manage.cgi" sends the data as a proxy. Data embedded in articles should have an external URL, and you will copy that address into the article.
Text files, including article files, can be edited in the browser. Pressing the "ed" button opens the editing screen. For article files ending in ".art," a "Generate:" item appears, where selecting anything other than "no" runs "bbb_generate.py" to reflect the article contents in HTML files. "single" updates only that file, while "full" updates all files. While writing the content of the article, generate the output with "single" for preview. Once the article is complete, generate the output with "full" to reflect it in the index and other areas.
If you set "hoard_target_url" and so on in "bbb.conf", a "Hoard:" item appears in the editing screen for articles. If you put URLs of supported services with @image and @video directives and check "Hoard" on, those data are hoarded on the server and the URLs are rewritten.
To delete a file, press the "rm" button for each file. A confirmation screen appears, and selecting "remove" deletes the file from the server.
When you start editing a text file, an MD5 digest is taken. When you save the content, the taken digest is compared to the current digest. If conflict is detected, saving fails and a warning is printed. In that case, open a new editing window and merge your update manually there.
Detailed Settings
There are several parameters to set at the beginning of "bbb_manage.cgi." Most of them can remain at their default values, but adjust them as needed.
# Generator used for updating articles.
# Write the absolute path if the command execution path is not included.
BBB_GENERATE_COMMAND = "bbb_generate.py"

# Number of files displayed on one page.
NUM_FILES_IN_PAGE = 100

# Maximum size limit for individual files.
MAX_FILE_SIZE = 1024 * 1024 * 256

# Limit to the total of the file size of all files in each directory.
MAX_TOTAL_FILE_SIZE = 1024 * 1024 * 1024 * 16

# Limit to the number of files in each directory.
MAX_NUM_FILES = 8192

# Maximum number of characters of the text edited on the Web UI.
MAX_TEXT_SIZE = 1024 * 1024 * 4

# List of regular expressions of filenames which should not viewed or updated.
IGNORE_FILENAME_REGEXES = [
  r"^\.", r"\.(cgi)$", r"^(bbb)\.",
]
Repeating once again, if "bbb_manage.cgi" is executed by a malicious third party, it will have catastrophic consequences despite these restrictions above. Therefore, it is absolutely necessary to protect the script through the web server's settings. It is also recommended to operate a sandbox site first to confirm that the settings work correctly before starting the production site operations.
Web Server Settings
If the web server has a feature to execute CGI scripts, it has also the function to change the execution user to an arbitrary user, but that setting can be somewhat cumbersome. It is easier to make the web server's execution user dedicated to that site (such as www). Additionally, it is easier to place configuration files in individual directories to enable fine-grained access control. For Apache2, write the following in the configuration file (e.g., /var/apache2/apache2.conf).
User www
Group www

AddHandler cgi-script .cgi

AccessFileName .htaccess
<FilesMatch "^\.ht">
  Require all denied
</FilesMatch>
<Directory />
  Options FollowSymLinks
  AllowOverride None
  Require all denied
</Directory>
Place a ".htaccess" file with the following content in the directory where "bbb_manage.cgi" is installed to ensure that only authenticated users can access it. Since Basic authentication used here transmits the password in plain text, always operate the server with SSL (HTTPS).
<Files "bbb_manage.cgi">
  AuthType Basic
  AuthName "Private"
  AuthUserFile /home/www/.htpasswd
  Require valid-user
</Files>
To create a password file, execute the following command. This saves the password for the authentication user "admin" in "/home/www/.htpasswd". You will be prompted for the password string when executing the command.
$ sudo -u www htpasswd -c /home/www/.htpasswd admin
The concept is the same for web servers other than Apache2. The idea is to use a dedicated user for the web server, enable CGI execution, set up access control for each directory, and apply authentication-based access control to "bbb_manage.cgi".
Data Backup
This is not limited to file management via the web, but in system management, unexpected events such as operational mistakes and hardware failures always occur. Therefore, for the heaven's sake, you should take backups regularly. Since BikiBikiBob data is composed of normal files, the backup process is extremely simple. You can bundle the contents of the target directory into a tar.gz file and transfer it somewhere. If you feel that's troublesome, simply transfer it with a single command using scp or sftp.
If the data is safe to be publicly shared, you can manage it as a repository on GitHub. You can manage files normally via SSH or the web UI, and commit all differences at a convenient stopping point.
$ cd /home/mikio/myblog
$ git add input/*.art
$ git rm $(git ls-files input --deleted)
$ git add data/*
$ git rm $(git ls-files data --deleted)
$ git commit -m "periodical update."
$ git push
Since the IP address of the poster is written in the comment files, uploading them to GitHub as-is might cause problems. If you dare to manage them on GitHub, it's safer to create data with dummy IP addresses and upload that.
$ mkdir -p comment-annon
$ rm -f comment-annon/*.cmt
$ ls comment/*.cmt | sort |
  while read old_file
  do
    new_file="comment-annon/$(basename $old_file)"
    sed -e 's/^\(.*\)\t\(.*\)\t\(.*\)\t\(.*\)$/\1\t-\t\3\t\4/' "$old_file" > "$new_file"
  done
$ git add comment-annon/*.cmt
$ git commit -m "periodical comment update."
$ git push
If you make the series of commands into a shell script, backups can be completed with a single command. The significant advantage is that you don't need to prepare a separate storage environment for backups.